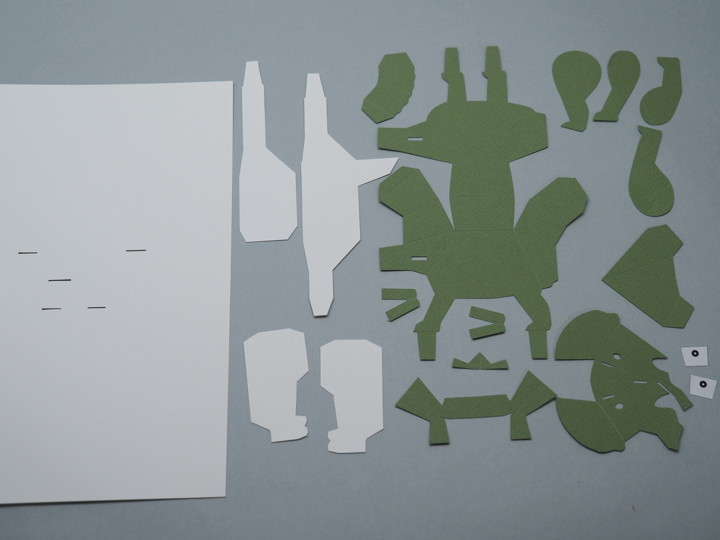
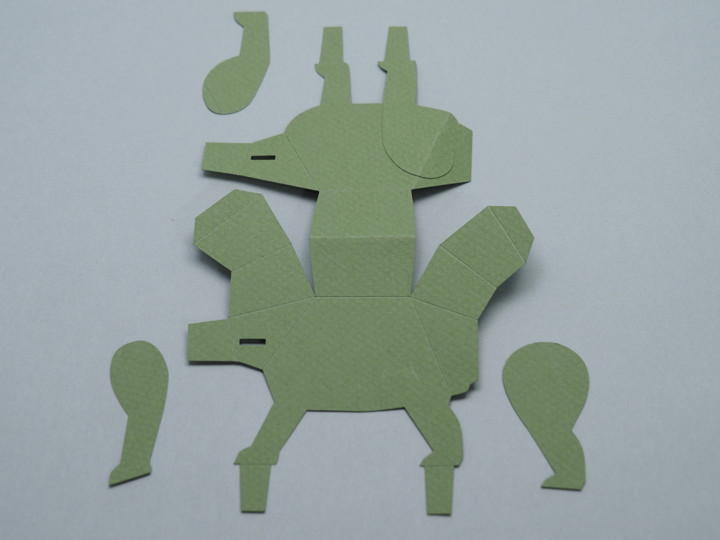
Cut out each parts, and cut out the eyeball parts from the second page pattern.
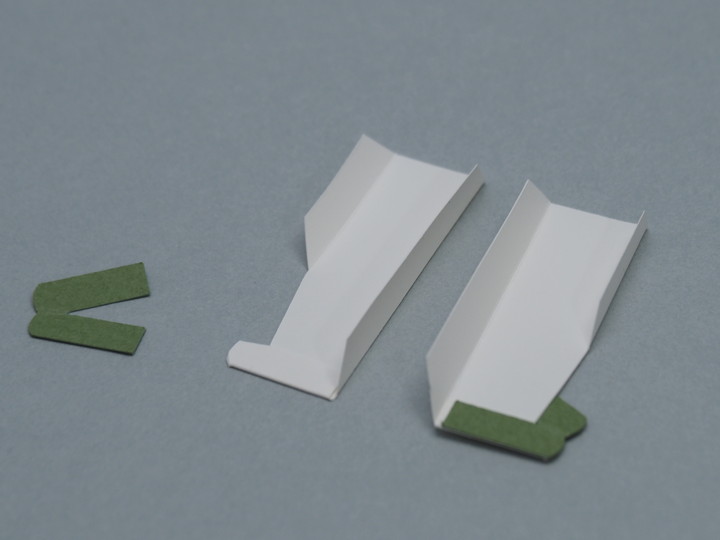
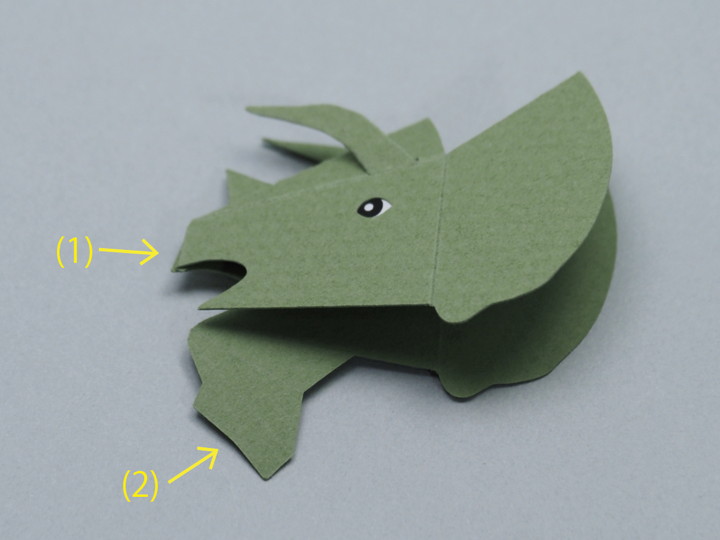
Fold the tips of parts (2) and (3) together and glue them. Then glue part (4) to it. Fold the colored paper to the back side and glue the back side too.
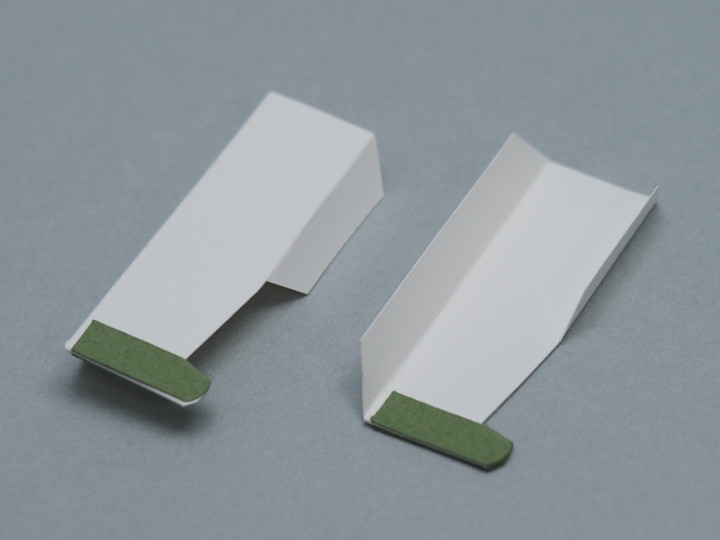
It will look like this.
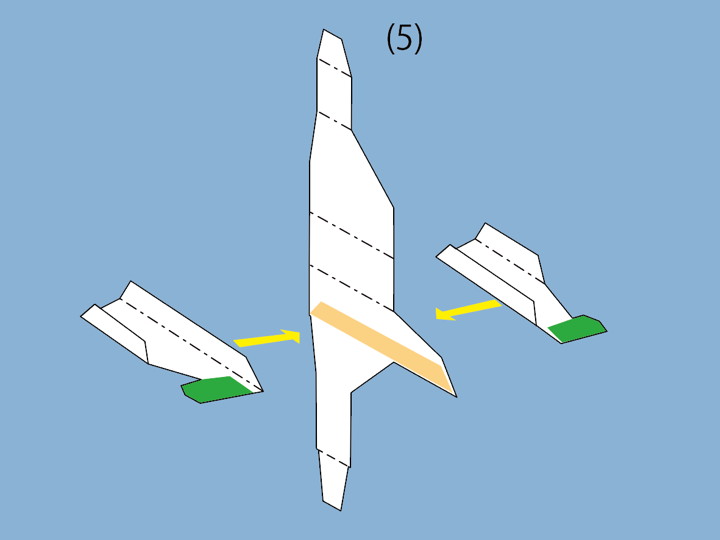
Glue (2) and (3) to both sides of the part (5) as shown.
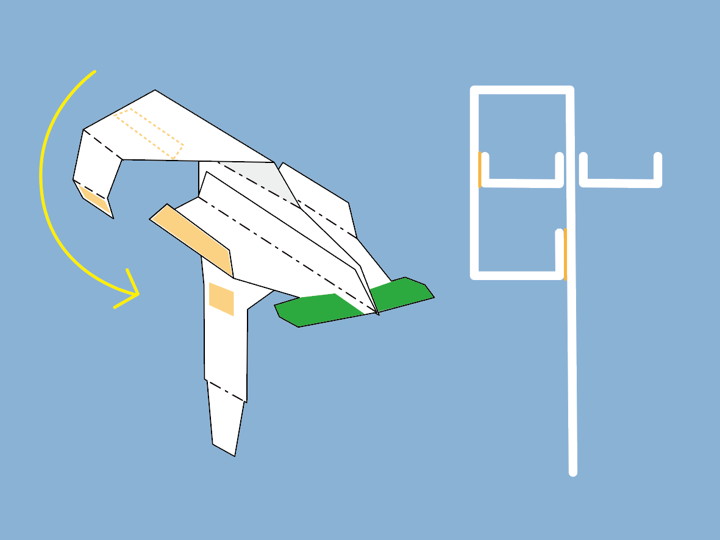
Bend the top of (5) as shown and glue in two places.
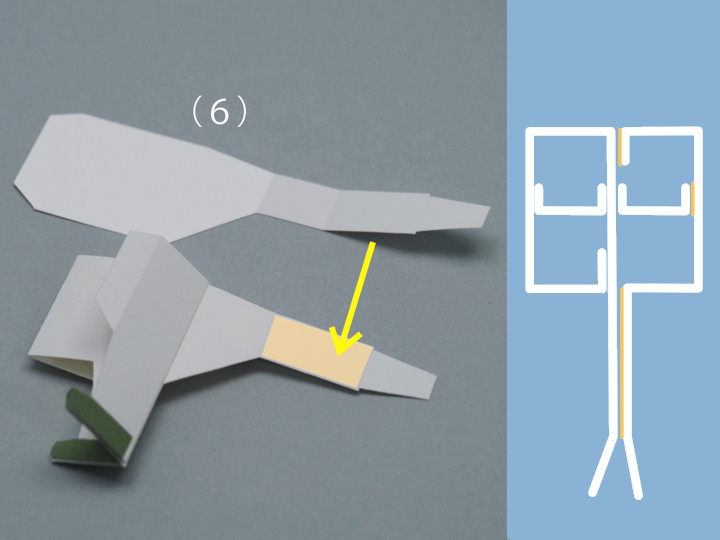
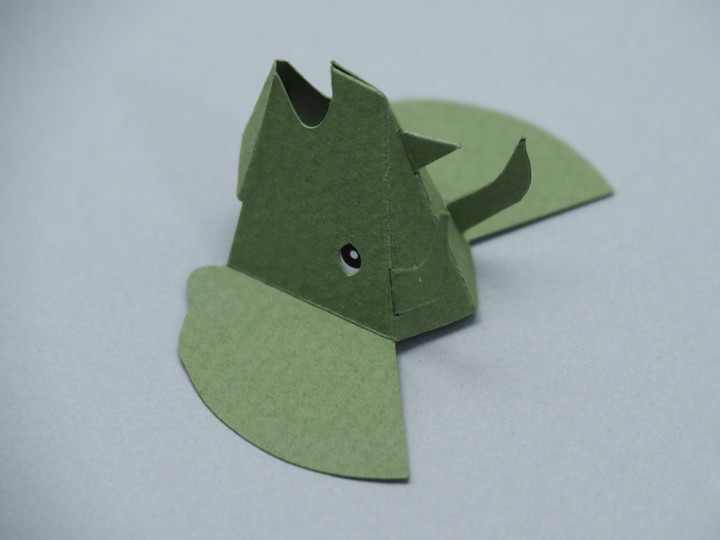
Glue part (6) to (5). First, glue the lower part together. Then, glue the upper part in two places as shown in the figure.
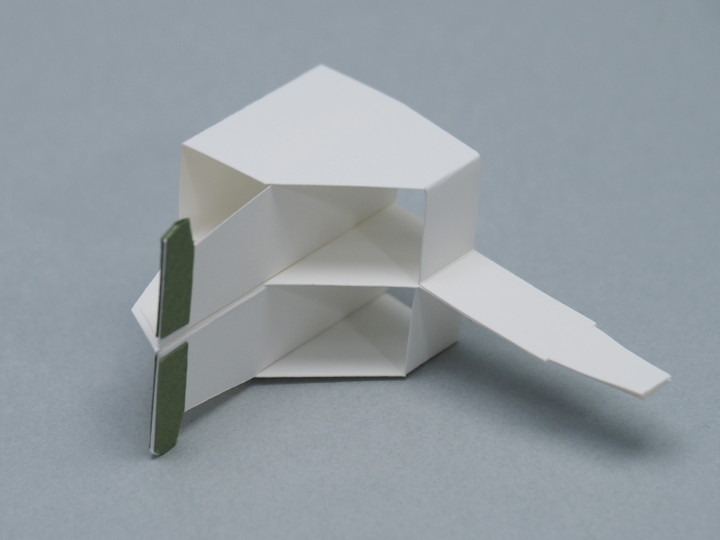
It will look like this.
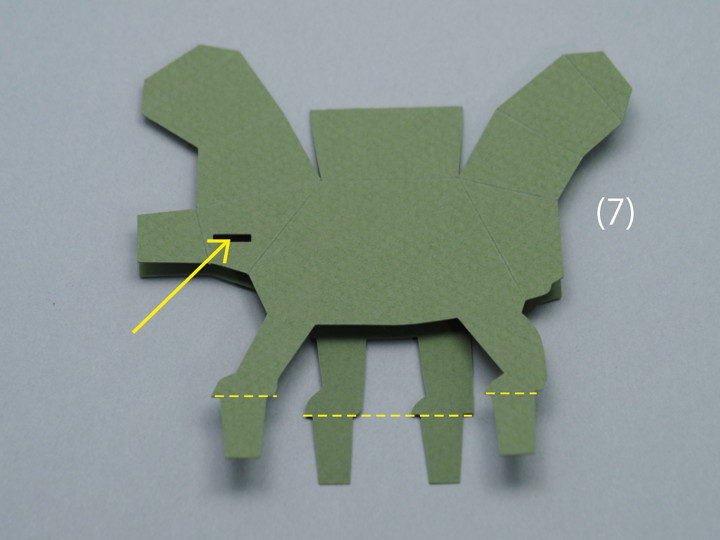
Fold part (7) in two, Check for misalignment: a) Are the arrow holes aligned. b) Are the heights of the bottom edges of all four legs aligned. If they are not aligned, align them again.
Glue parts (8) - (11) to part (7).
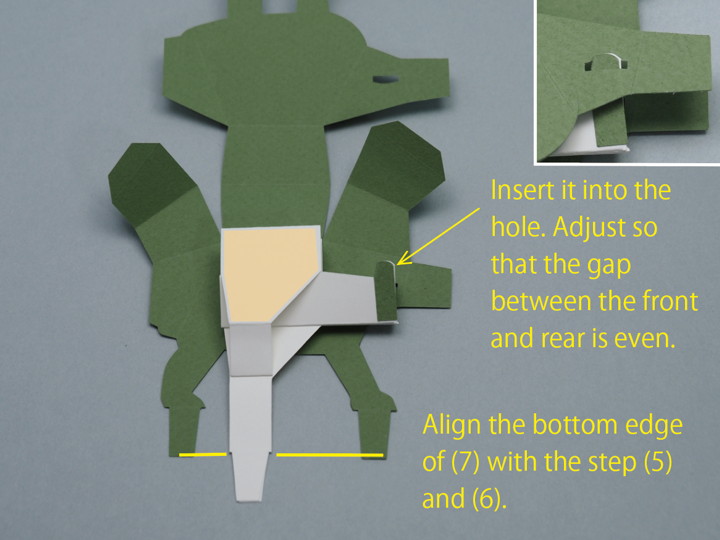
Paste the support parts. Glue the light orange part (the side not visible in the photo). Align and glue as shown in the figure.

Paste the other side as well.
Fold and glue the shoulders and hips.
Paste part (12) to the body.
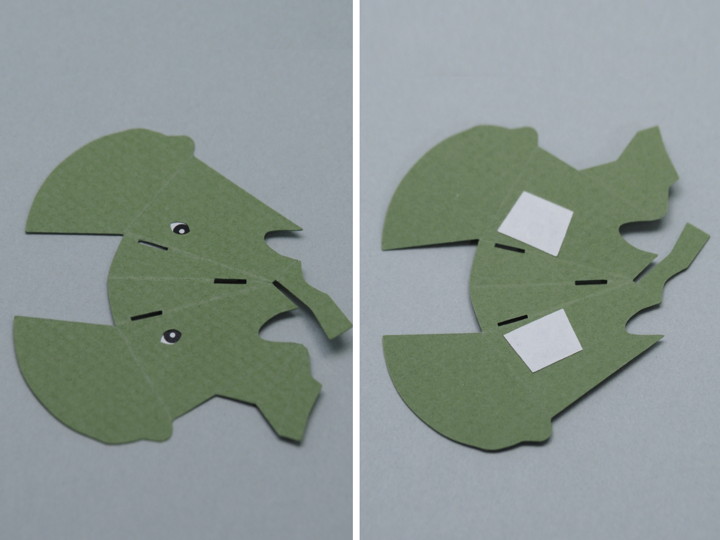
Paste part (14) ( cut out from the printed pattern) to part (13). There are two types of (14), so use whichever you prefer.
Fold the part (15) in half and paste only the center part together. Insert it from the back side of (13) and glue.
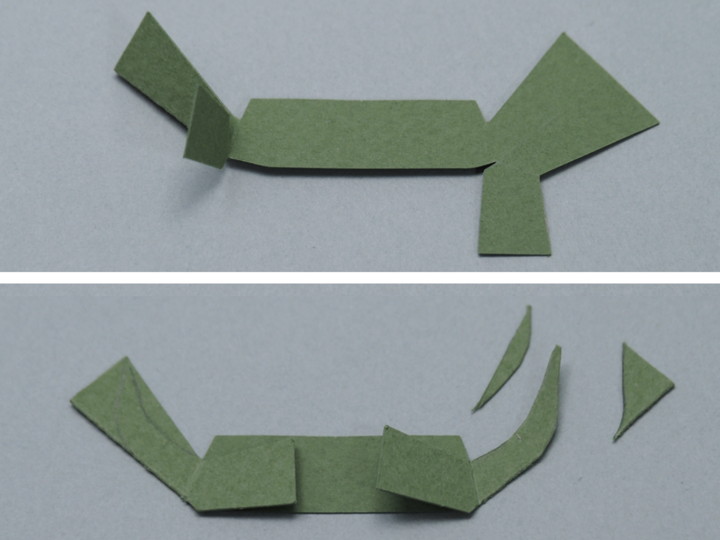
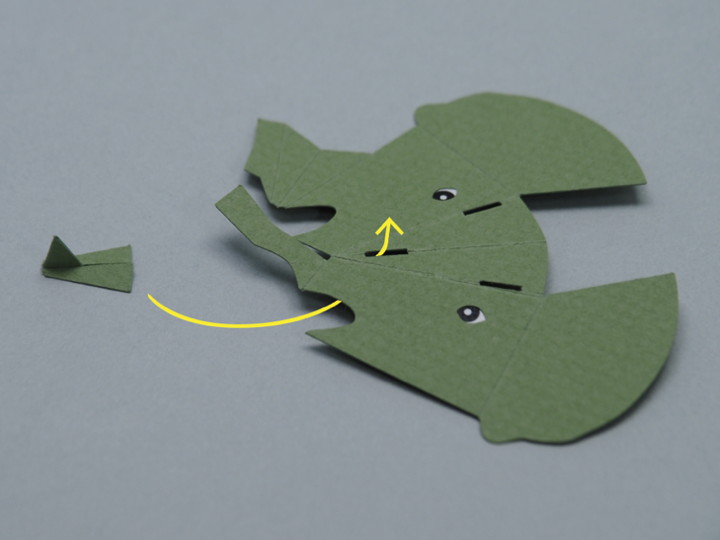
Part (16), fold and paste the left and right sides together respectively, then cut them out to form the shape of horns.
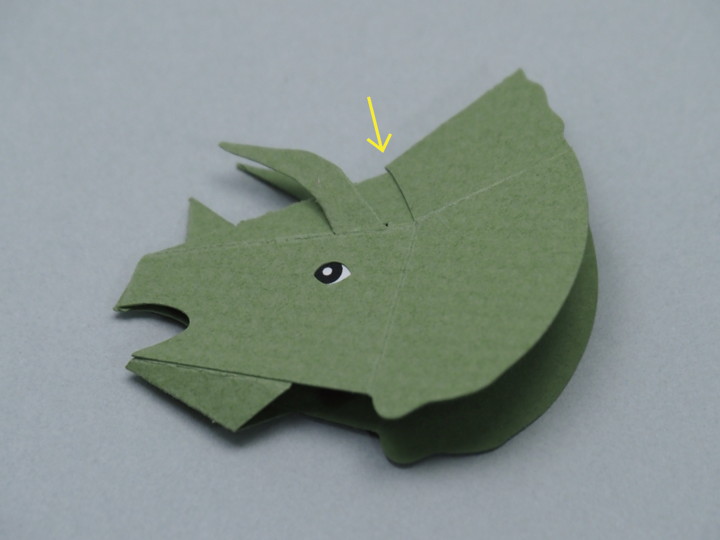
Insert (16) from the back side of (13) and glue the arrows.
Fold and glue in numerical order.
Make sure the folds are neatly creased for easy opening and closing.
Glue the parts (17). The arrow parts overlap slightly.
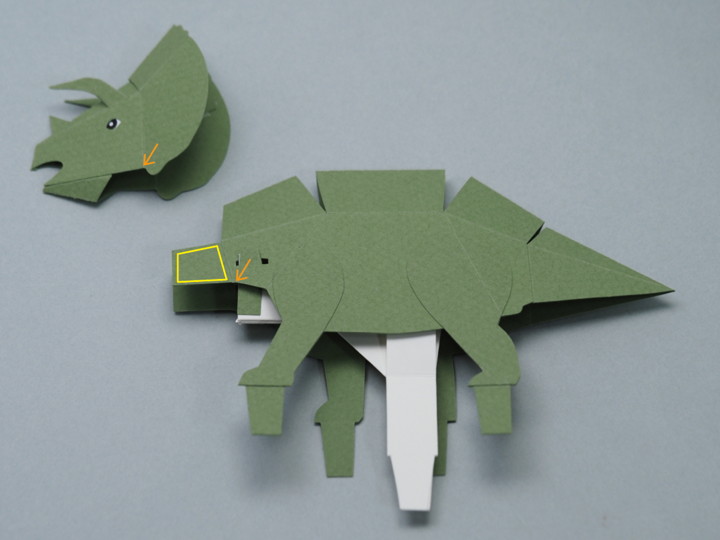
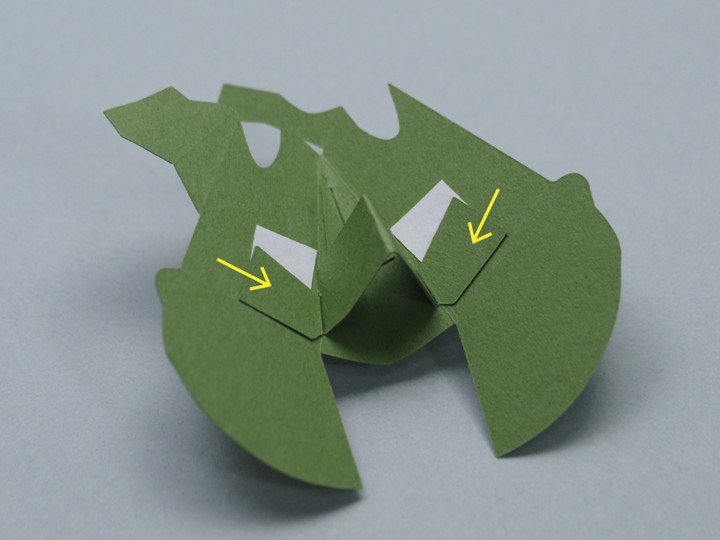
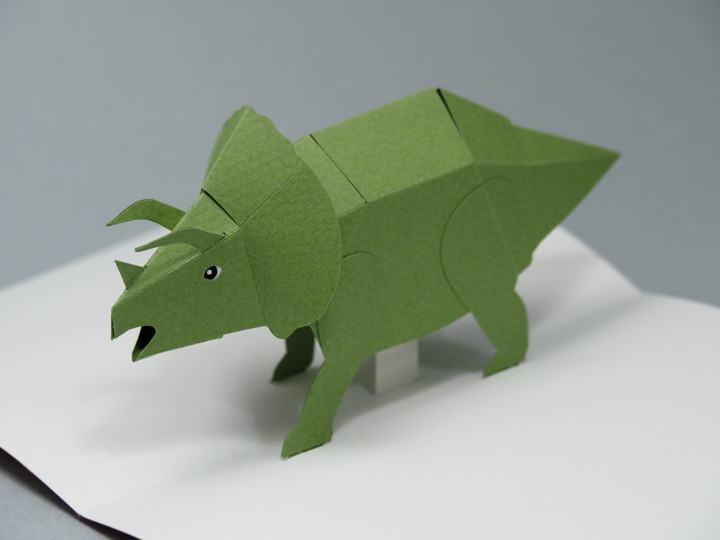
Glue the head to the body. Apply glue only to the yellow square. Align the arrows each other. Adjust the direction of the face up and down as you like.
Note: Do not glue the inside of the head where the part (16) has a V-shape. (Refer to the photo posted 4 sheets ago.)
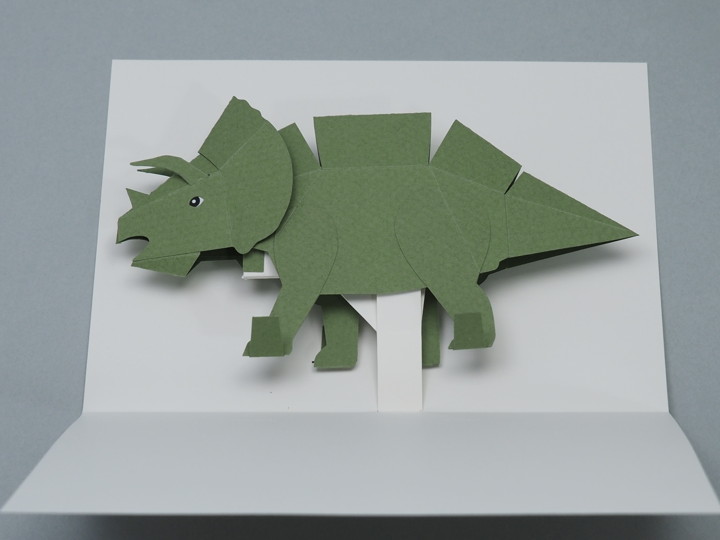
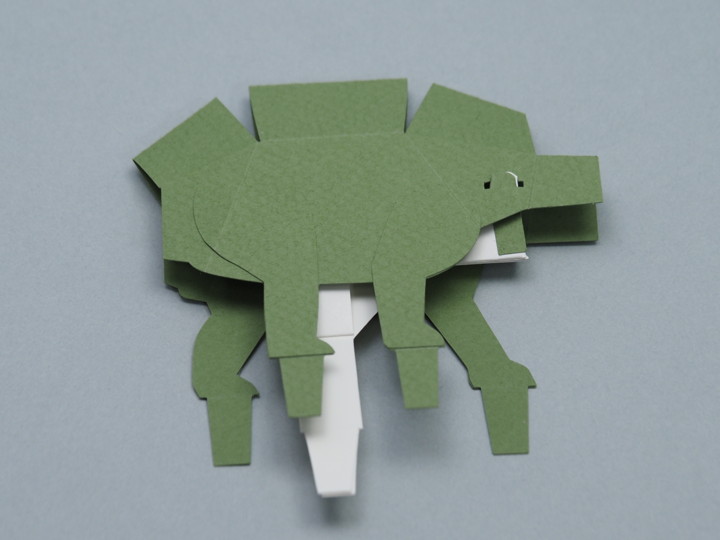
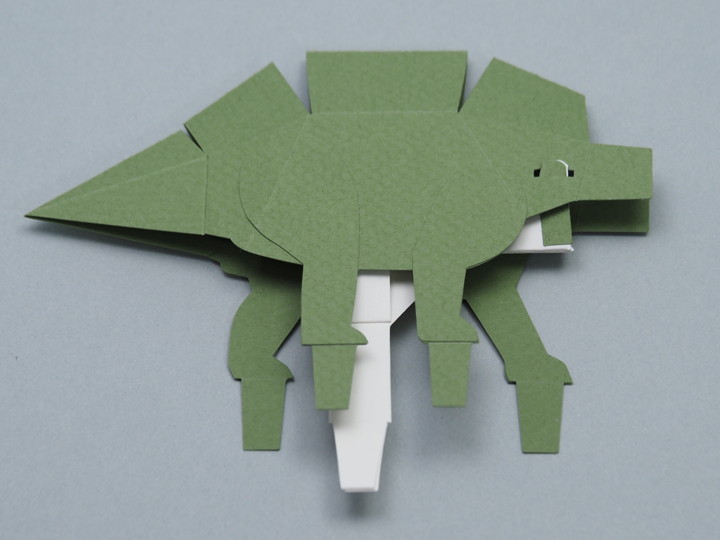
Glue to the base paper. First glue the center support part, then glue each foot after it.
When opened and closed, the supporting parts push the frill part to the left and right.
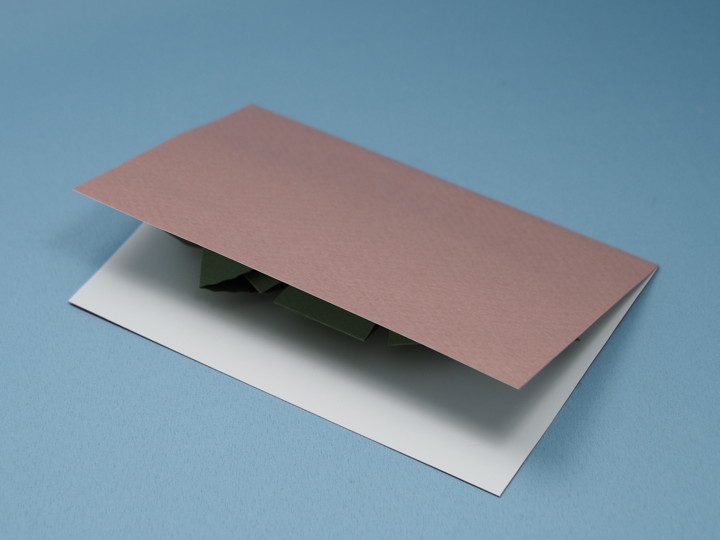
Paste the cover drawing paper on the outside and trim the edges to complete.