パーツ(1)は矢印の部分を折り合わせ、接着します。折り目のところに、動きやすくするための切り込みがあります。
右上のような形にしてください。
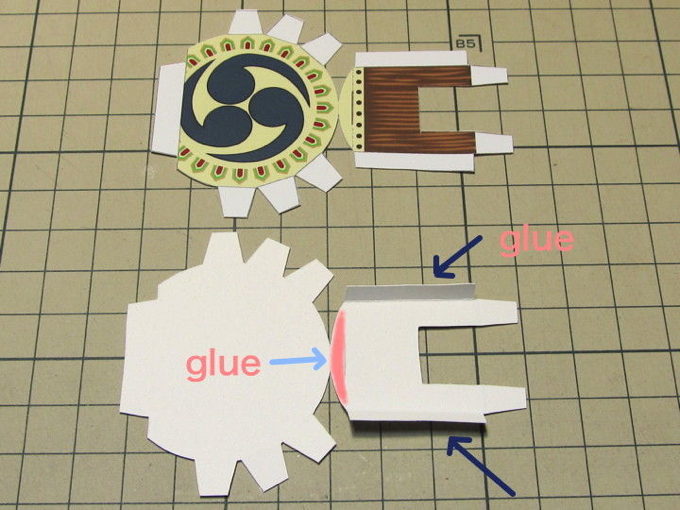
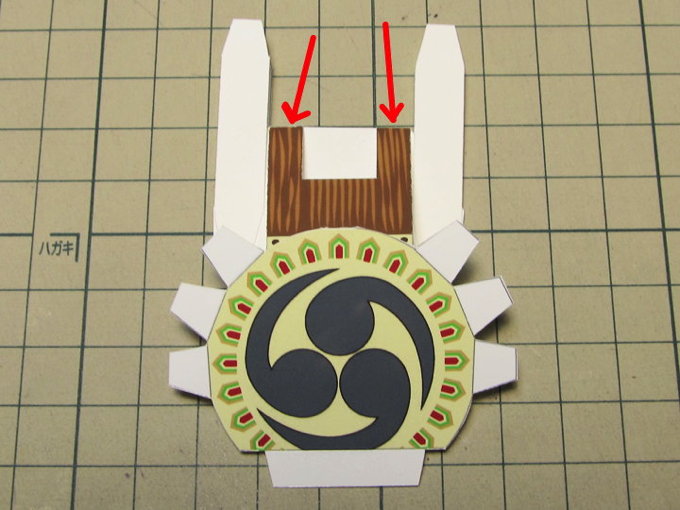
(2)に(3)を接着します。(2)の片面に点線が書いてあるので、そこに合わせて下さい。
これを裏返しにして、反対側にも(3)を接着します。最初に貼った方と重ねるようにすると位置合わせが楽です。
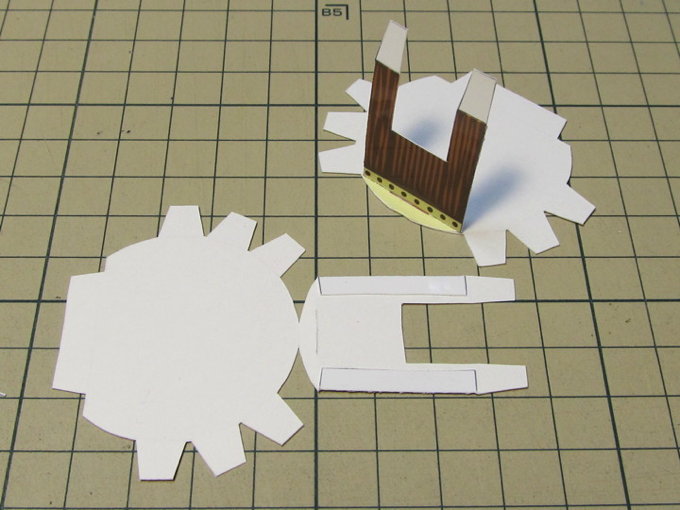
(2)に、(1)の端を接着します。(矢印のところ)
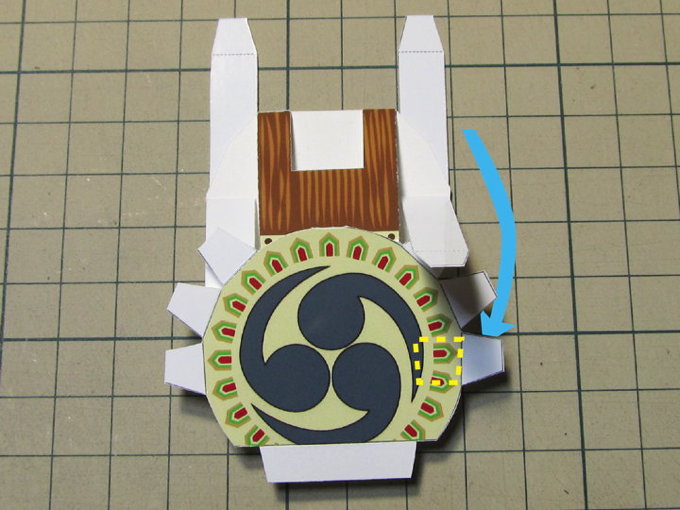
次に、左右にある(3)を下に折り曲げて、(1)の裏側に接着します。(黄色い点線の位置の裏側になります)
接着するときは、畳んだ状態で貼ってください。
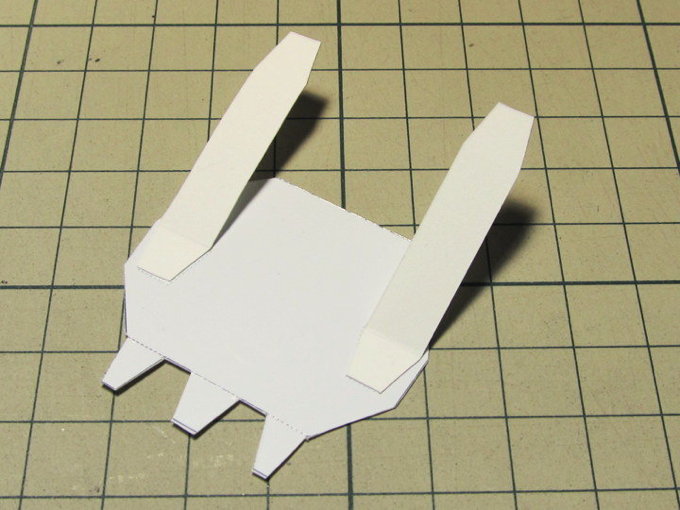
接着するときは、畳んだ状態で貼ってください。
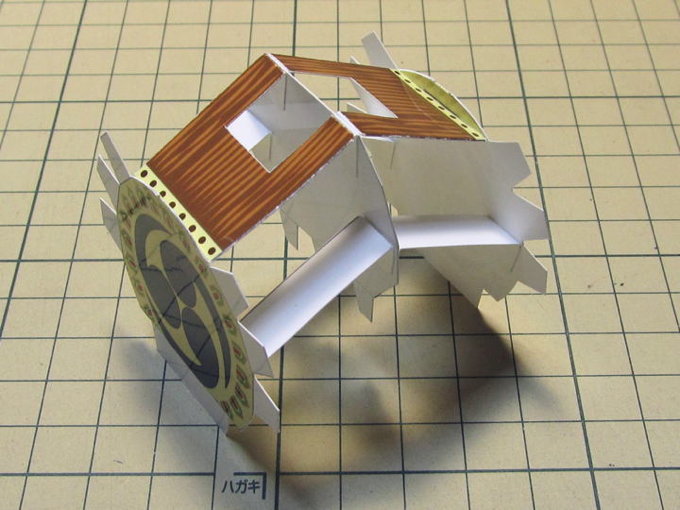
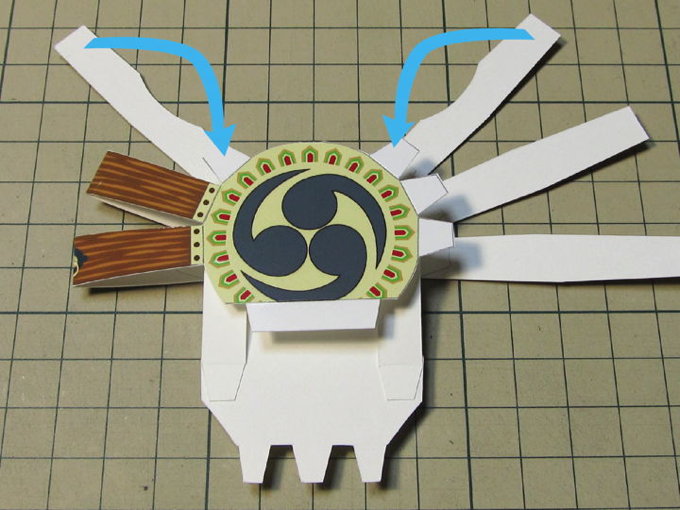
反対側も同じように(1)を貼り付けます。できあがるとこのような形になります。
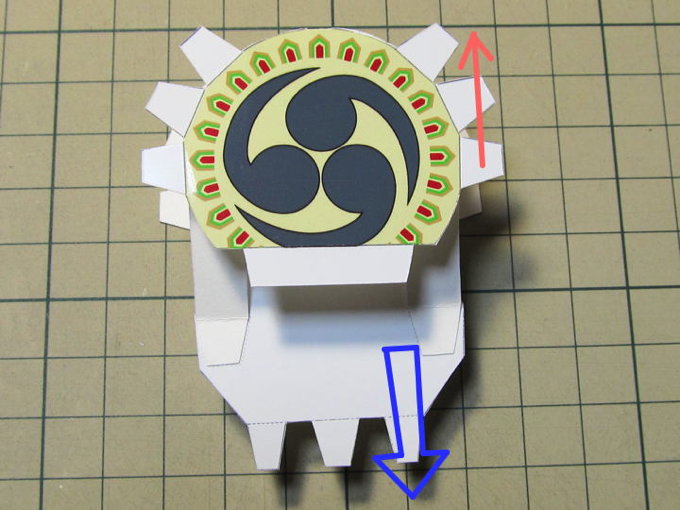
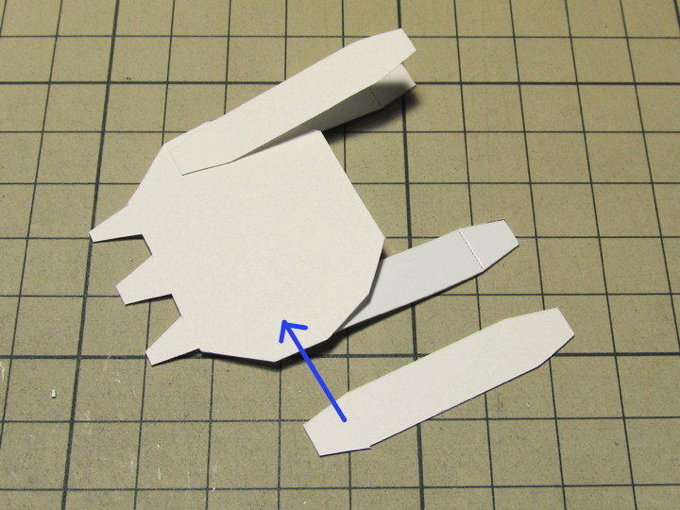
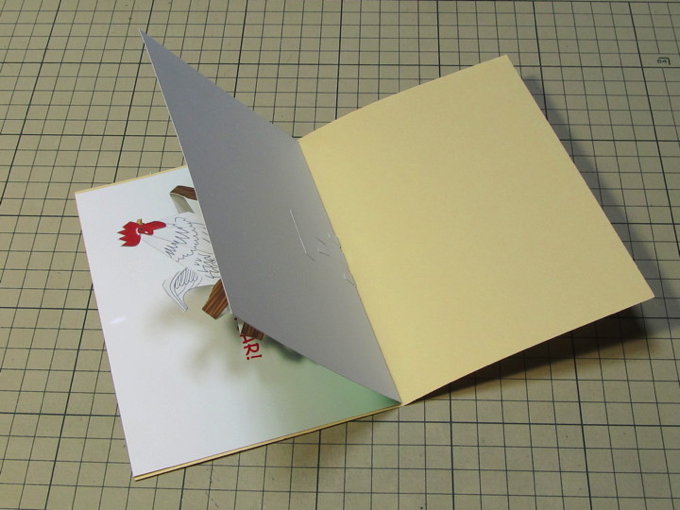
開いた状態から、(1)を持ち上げ、(2)を下げて写真のようにしてください。
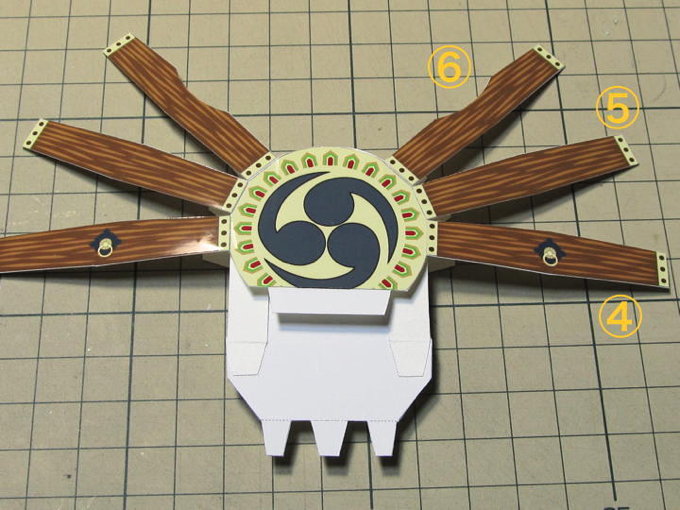
(1)の片方に、(4)(5)(6)のパーツを貼り付けます。(4)は、金具がついているので、金色の輪が下に下がっている状態にしてください。(6)は、カーブのある方が上になります。
それぞれのパーツを反対側に曲げて接着します。位置を合わせたら、(4)〜(6)は二つ折りにしてください。
次は鶏です。(7)と(8)を接着します。
(10)は貼り合わせて、(9)に差し込むようにして接着。それを(8)と接着し、それぞれの折り目をきちんと折り直しておいて下さい。
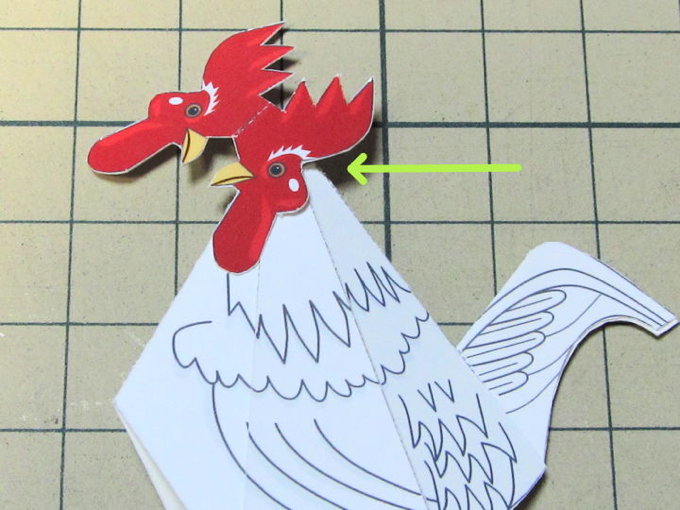
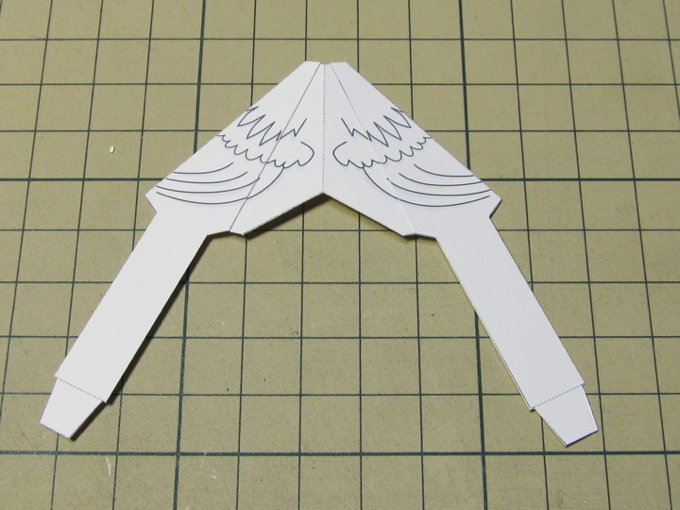
(11)を接着。場所を決めて片方ずつ貼ります。(あまり上に上げすぎると、最後に台紙からはみ出す可能性があります。「とさか」の後端部分が背中側のパーツ(9)に少しだけ重なるくらいに。)
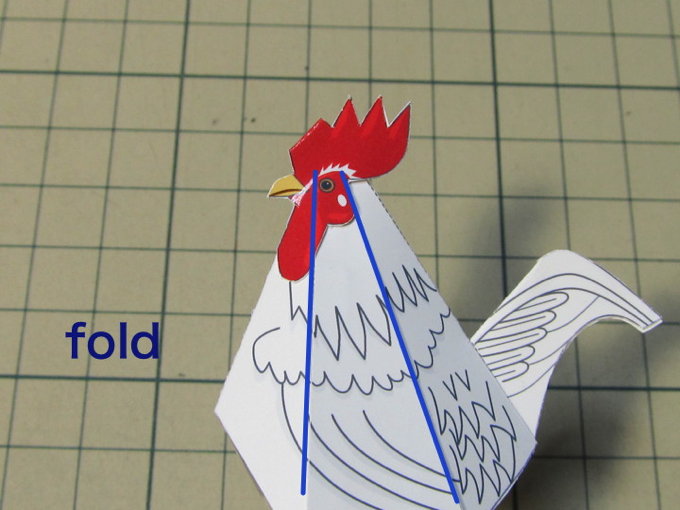
貼り終わって接着剤が乾いたら、青い線のところに折り目を付けなおします。折り癖をつけておかないと、鶏の開閉がスムーズにいかない場合があります。
 最後は台紙に接着ですが、まず、(2)の部分だけ接着します。この状態で、鶏の接着に移ります。
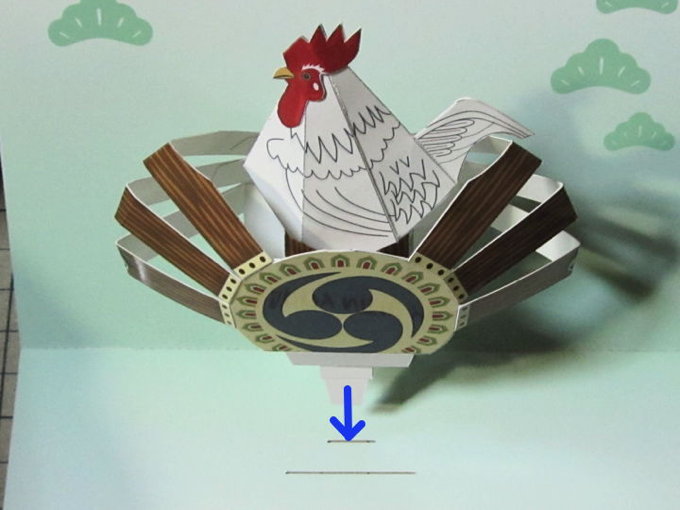
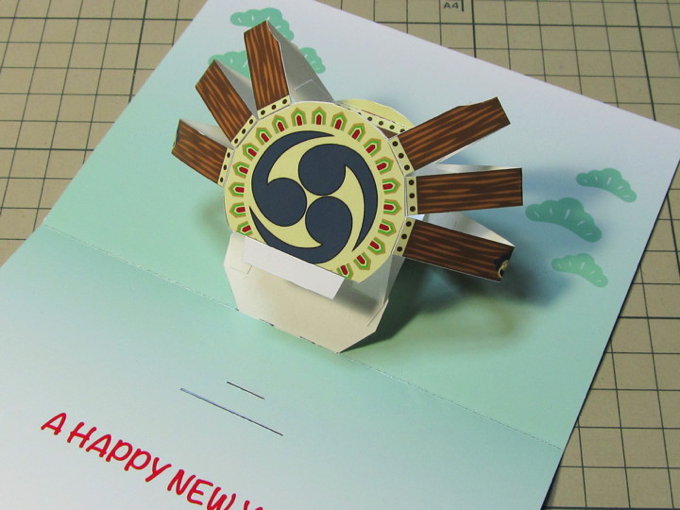
太鼓部分の上の穴から鶏を差し込み、台紙に接着して下さい。鶏が接着できたら、太鼓のパーツ(1)ののりしろを接着します。
カバー用紙に接着。折り目を合わせ、片面ずつ貼ります。
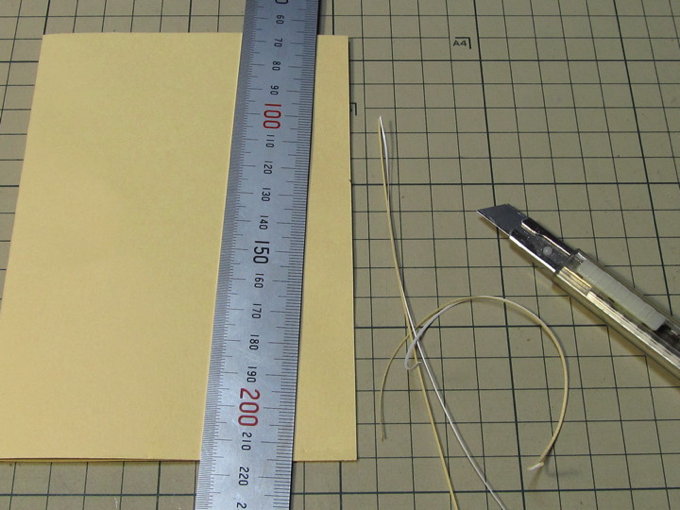
縁がそろっていない場合は、カッターで切り落とすときれいに見えます。
この型紙は(貼り方によっては)鶏のとさかが台紙ギリギリになる場合があるので、外側の画用紙が少し大きめの方が内側の紙を切ることが少なくなり、安全なのです。
この型紙は(貼り方によっては)鶏のとさかが台紙ギリギリになる場合があるので、外側の画用紙が少し大きめの方が内側の紙を切ることが少なくなり、安全なのです。