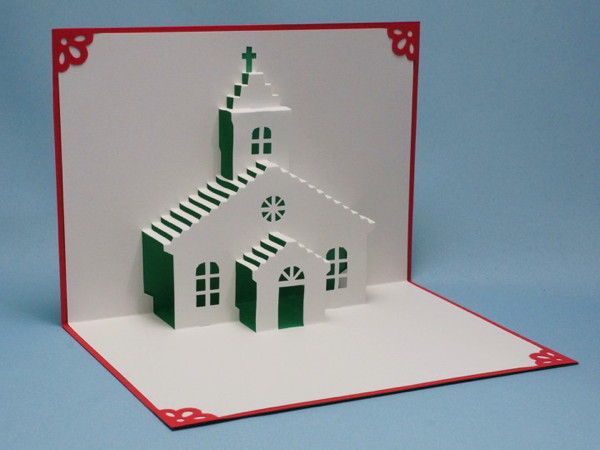
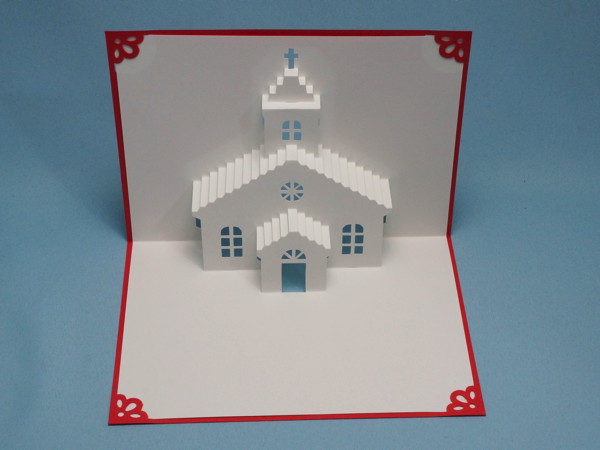
Pop-up card with decorative frame (prototype version)
I created a pop-up card of a church without a specific model.
As it is now late October, I thought it would be Christmas-related at the right time of year, so I have included it in the Christmas card section.
This time I did it a little differently and added a decorative frame.
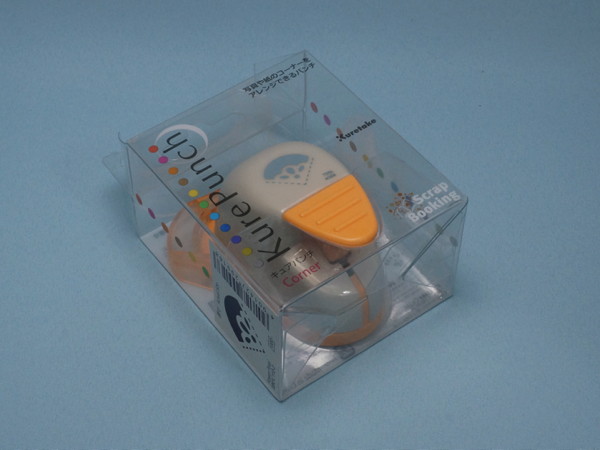
I found a tool to punch holes in the corners of the paper and bought it to give it a try. (This is a product called “CurePunch Corner" from Kuretake Co.,Ltd.)
With this punch, we can punch holes in the corners of paper like this.
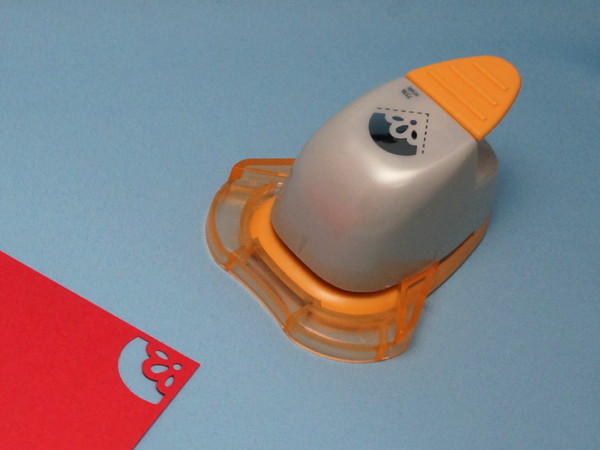
We punch holes in the four corners and insert picture or other object into the holes.
There are several kinds of patterns.
Even if you do not have a punch, you can use a cutter to cut out the pattern. If using only straight lines, it is easy to cut out.

This is the first time for me to use this method, so I made it while thinking about what steps to take. I may improve the method in the future, so please keep that in mind when seeing this page.
First, I made a pop-up card in the usual way.

Preparing two sheets of paper for cover.
The width of the frame is narrow, so if I cut them together at the end as usual, the width of the frame will not be balanced.
I could have used a sheet of paper one size larger than the Kent paper for the cover, but I decided to keep the finished dimensions to A6, the same size as the Kent paper, in case I wanted to put it in an envelope. (size when folded).
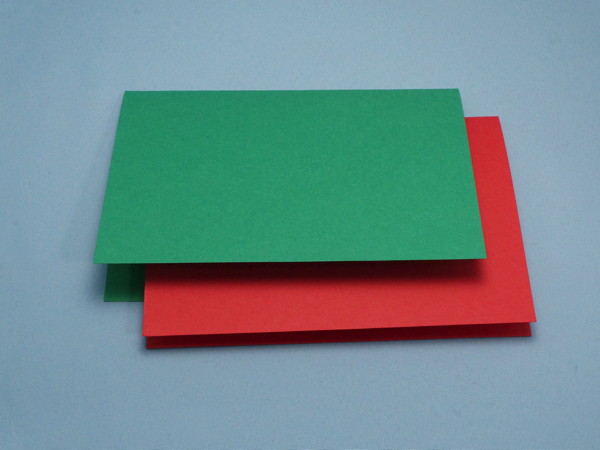
So, I used A5 size colored paper for the cover.
I chose red and green paper with the image of Christmas.
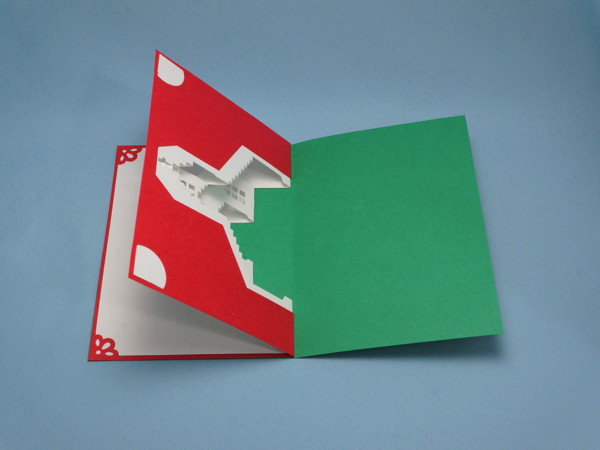
It will be opened and closed after two sheets are pasted together, if they are exactly the same size, the inner paper will stick out slightly. Therefore, I folded the two sheets, overlap them, and then cut outlines together.
(*It might be better to make the outer paper a few millimeters larger, and then cut them together later.
Punch holes in the inner paper with a punch.
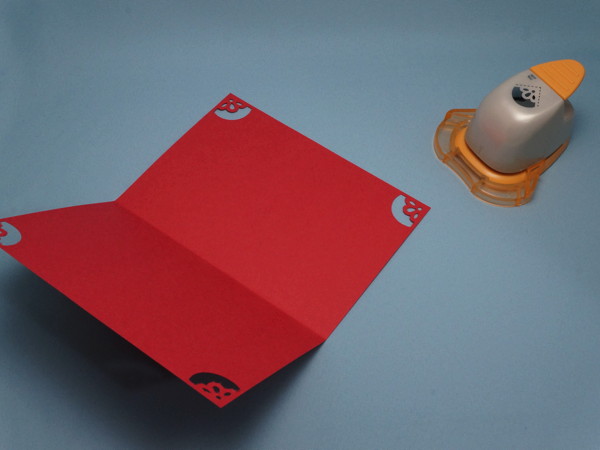
Since Kent paper is also A5 size, it cannot be inserted as it is. So, cut off the perimeter of the Kent paper. With this punch, the width of the frame is about 2mm, so I cut off about 2.5mm from each of the every sides.
Inserted Kent paper.
This is what it looks like from the back. I will put one more sheet on the outside, so the Kent paper will be hidden.
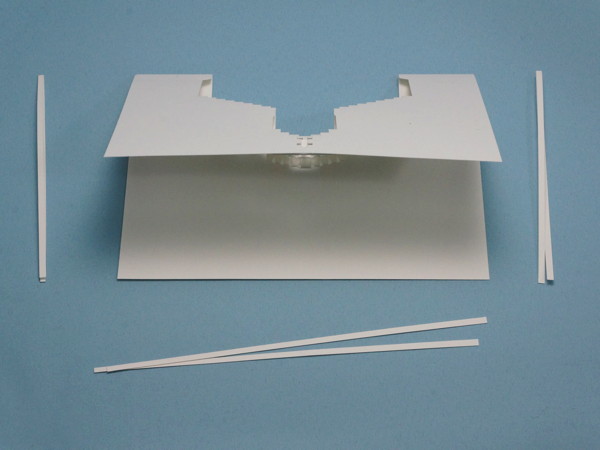
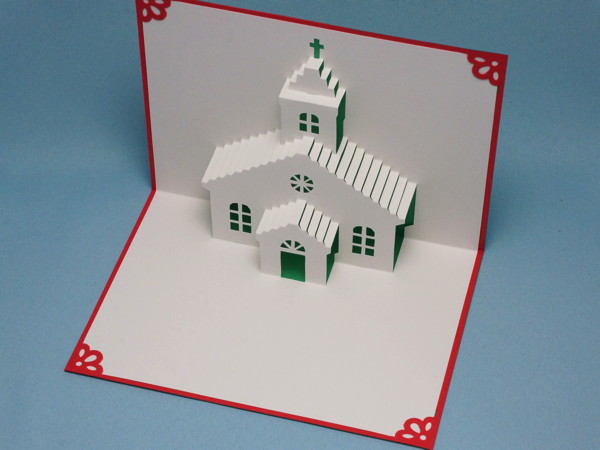
It feels a little missing that the cover is all one color, so I cut out the church part so that the color of the outside cover can be seen from the inside.

After cutting it out, I inserted Kent paper again. This time, the red paper is not visible in the church section.
If I only insert it, it will come off when I open the card. So glue it in place.
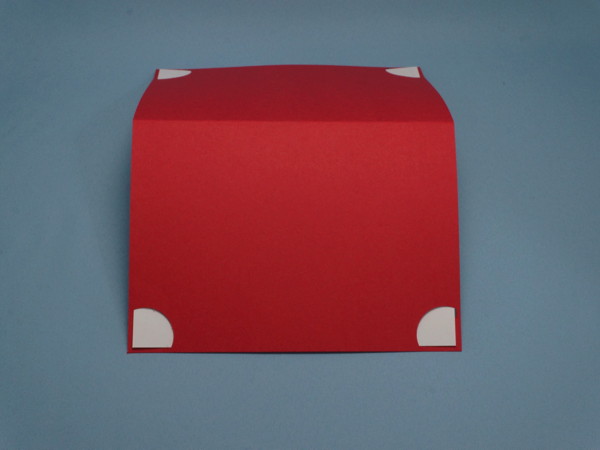
Next, glue the outer paper. The size of the card should be perfectly aligned, but it may still be slightly off.
However, there are still slight discrepancies… I wonder if it would be better not to match the size of the drawing paper at first.
I had no choice but to cut off the parts that did not align, so align them at the minimum width possible.
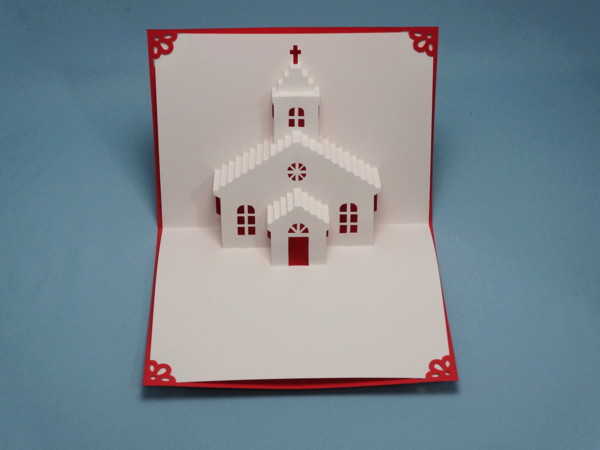
Now it is finished.
This is the first time I tried this method, so I hope to improve it while making several times.
The pattern of the church is available for download.
The pattern itself does not take into account the frame, so it can be used as before way.
Click here for the Christmas card page (downloadable).
[Postscript] (2022-12-10)
The pattern download for this church has been closed.
[Related article]
“Pop-up card with decorative frame (improved version)“(2019.11.26)